A comfortable seating position in your sim rig is important, especially if you’re doing endurance racing. But if you’ve just finished building your first rig, you might be overwhelmed by all the setup abilities aluminum sim rigs have. If you’ve just bought one of our rigs (or are planning to do so) we hope this is a good read.
BASIC POSITIONS
First off, there is no ‘correct seating position’. Every person is unique. Not only because of different arms and legs length, but also in their seating preference. You might even have ‘grown’ into your daily car seating position which alters the way you like your sim rig. But, since you need something to start with, we’ve created this basic position drawing, based on our most populair rig, the Treq One:
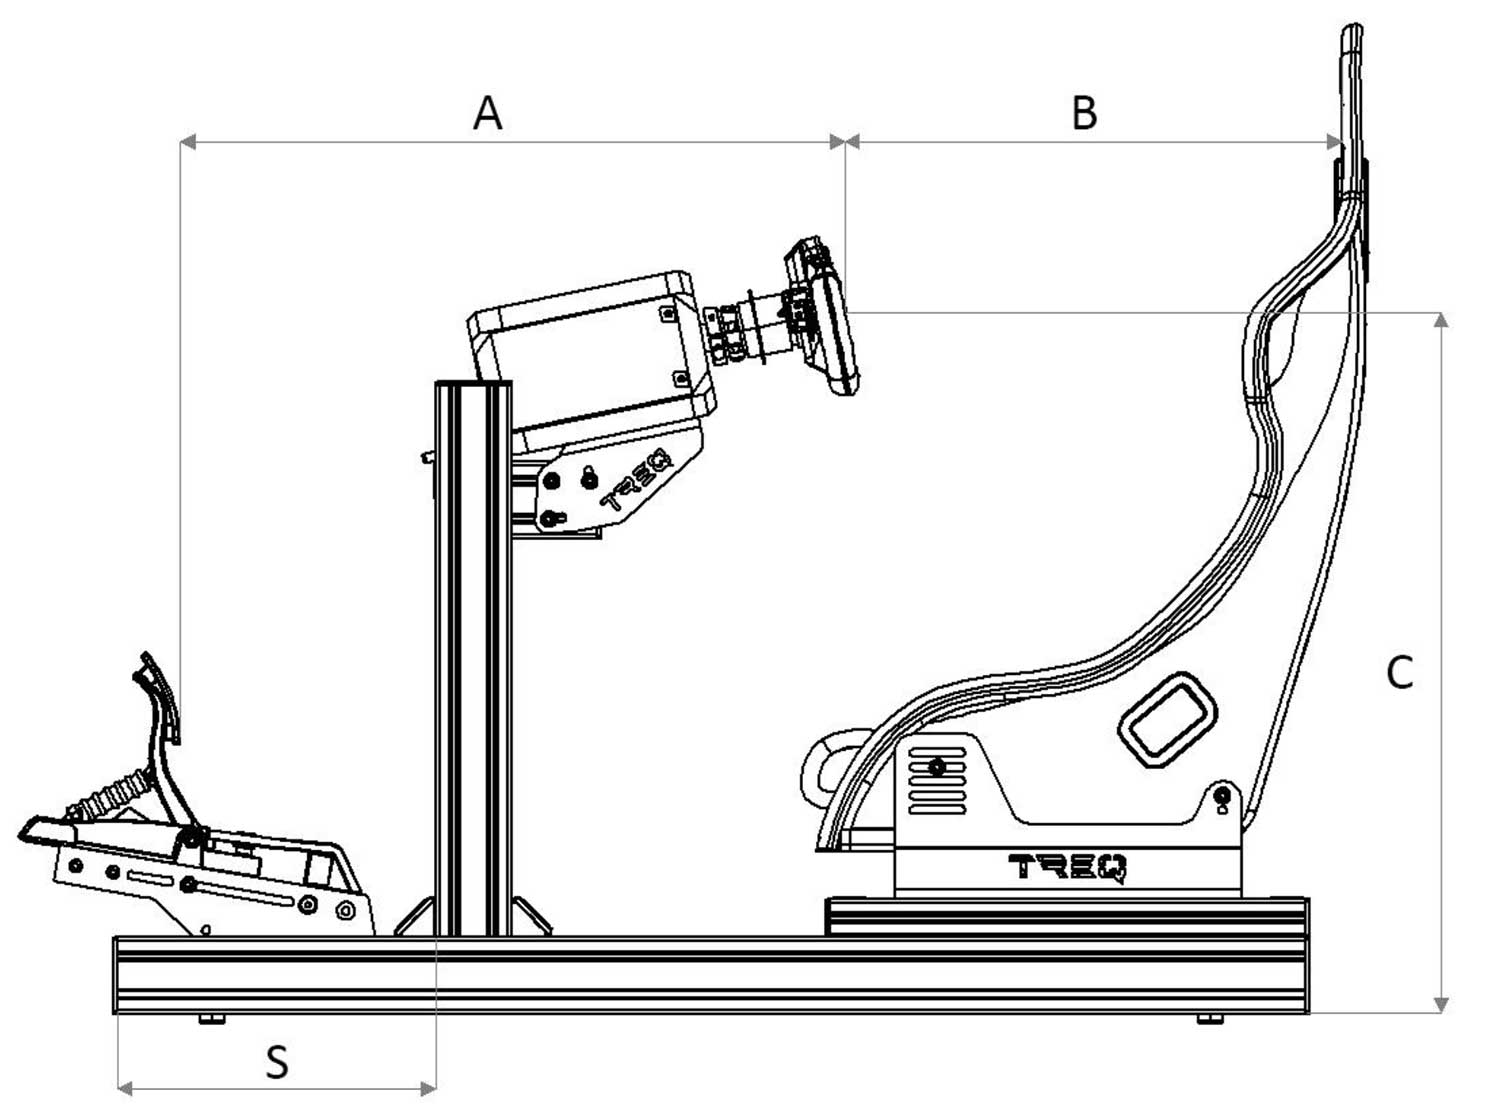
| Body Length: 160 cm | Body Length: 180 cm | Body Length: 200 cm |
| A: 50 cm | A: 55 cm | A: 60 cm |
| B: 60 cm | B: 65 cm | B: 70 cm |
| C: 65 cm | C: 70 cm | C: 75 cm |
From here on out you can start fine tuning. The recommended steps to set it up are as follows:
- Set up wheel distance
- Tilt the wheel
- Wheel height
- Tilt the pedals
- Pedal distance
WHEEL DISTANCE
You can adjust the distance to your wheel (B) in multiple ways. If it’s just micro-adjustments you want, you can slide the wheel deck a few millimeters over the short 8040 profiles towards you. If it’s bigger steps you need to take, you can either choose to move the whole wheel bridge (loosen the upright profiles on the bottom, and slide them forward or rearwards over the long horizontal profiles), or move your seat. The latter is the most easy to do, but if you’re a long person you might want to have your seat on the rear-end of the simulator.
TILTING THE WHEEL
Our wheel decks also have the ability to tilt your wheel. Most road and race cars have a slight upwards angle to the steering wheel axle. This is super easy to adjust with the slots build into the decks. Check what angle is comfortable for you, before setting up the preferred height. Because tilting the wheel has a big influence on steering wheel height, especially on wheel (bases) with long steering axles.
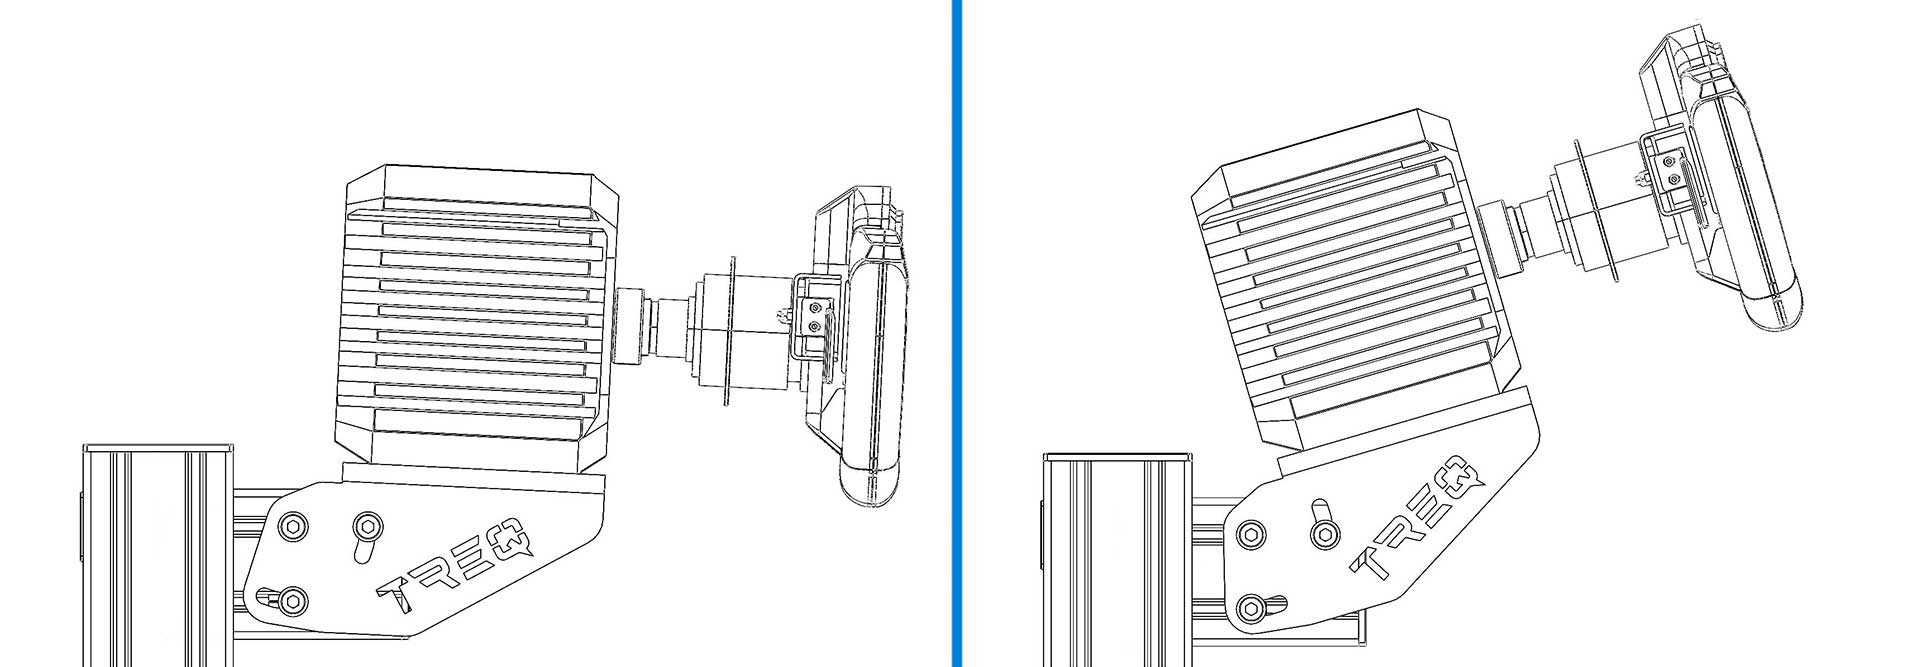
Tilt the steering wheel by easily moving the deck along the slots.
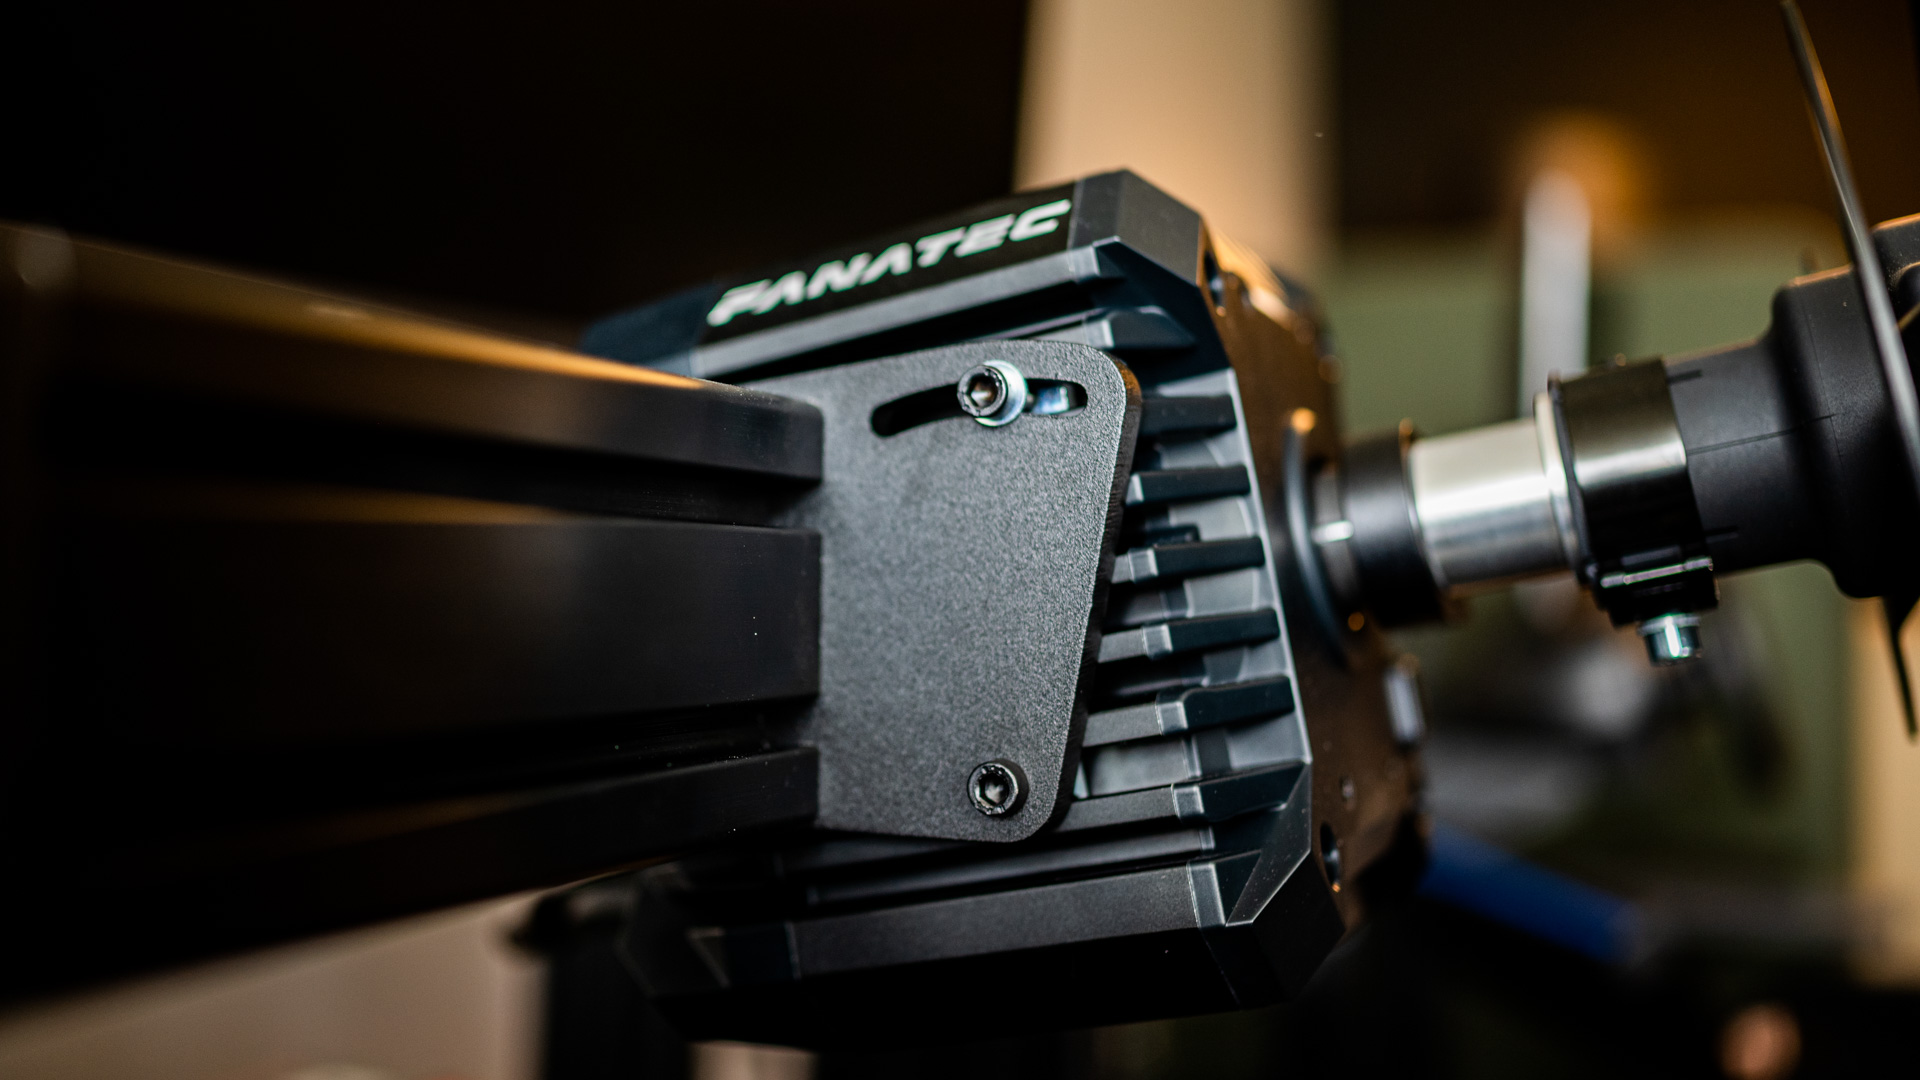
Our DD Side Mounts also have slotted holes for easy tilting adjustments.
STEERING WHEEL HEIGHT
Once you’ve got the distance and the angle, you can setup the preferred height (C) of your wheel. While building our rigs is not any harder than the usual Ikea furniture, we do recommend doing this as a two man job. Some wheel bases are heavier than 10 kg, and it’s difficult to both hold that into place and loosen/tighten the bolts for adjustability. If you’ve got a partner that can hold the Allen key, you can slide the upper part of the wheel deck higher/lower over the upright vertical profiles.
TILTING THE PEDALS
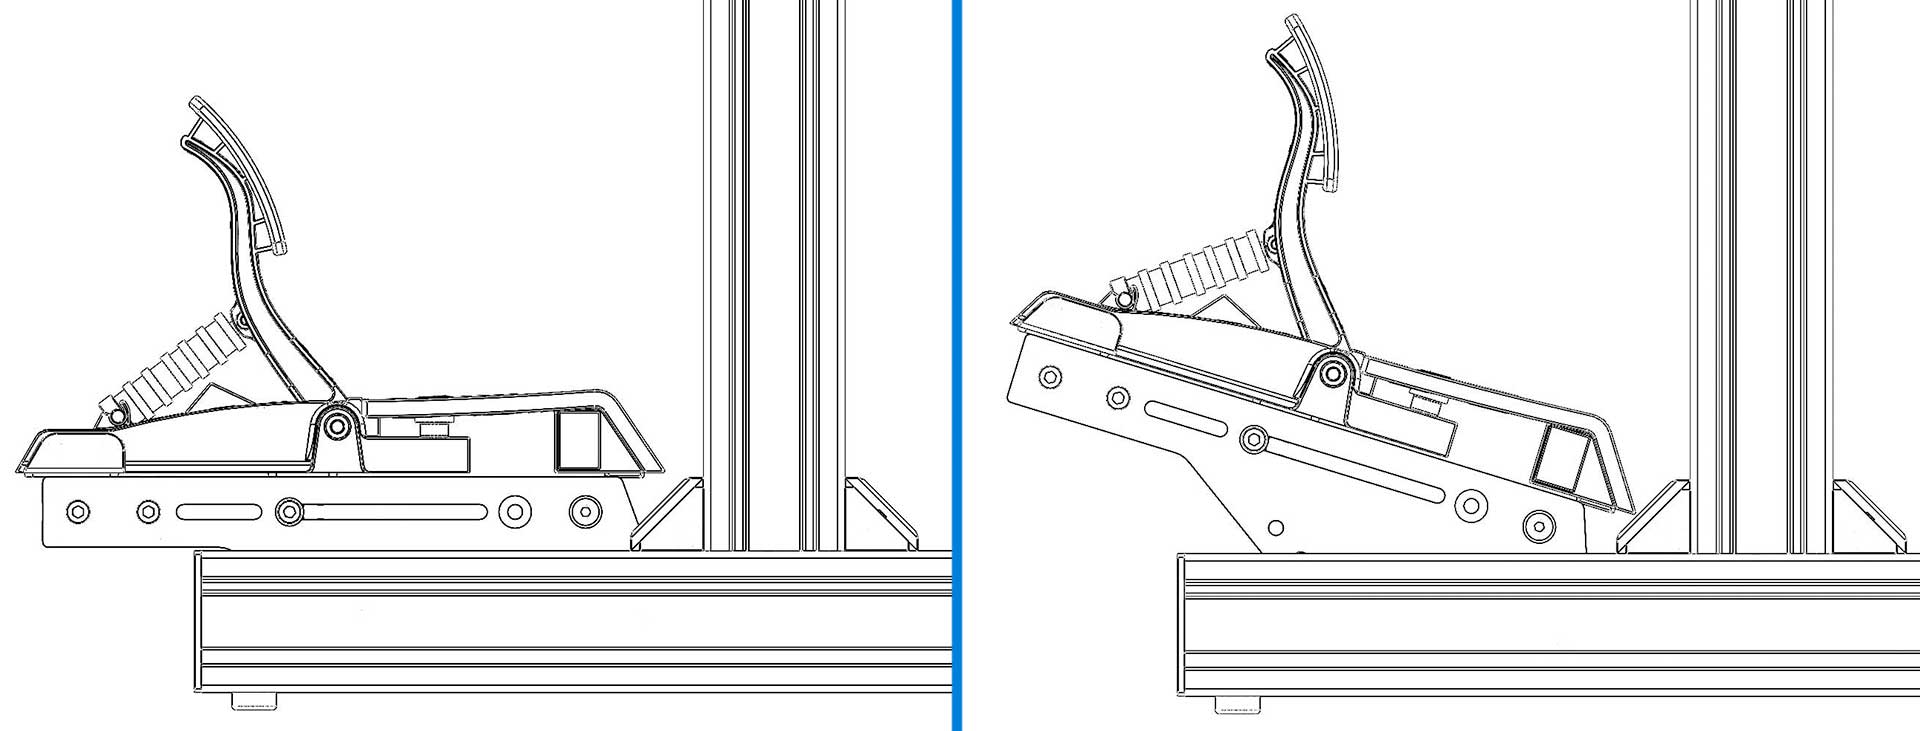
Just like our wheel decks, the pedal brackets are designed in a way you can easily adjust the angle of the whole assembly. There is a vast majority of pedals out there that practically all fit on our sim rigs. But they also all have different angles of the way the pedals are place. On Fanatec’s CSL pedals for example, this angle is fixed, and on Heusinkveld’s you can adjust this. We recommend setting the pedal deck in such a way, that going full throttle is the most comfortable position for your right foot. You don’t want to over-stretch it in the position it is mostly placed in, but you also don’t want to have tension in it of holding your foot back when going over a straight. So set it up in a way that a ‘relaxed’ foot wants to press the pedal a bit.
PEDAL DISTANCE
The last step is to set up the pedal distance (A). Luckily this is a lot less work than setting up the steering wheel. Just loosen the four M8 nuts on the pedal deck side brackets, and slide the whole deck over the long horizontal profiles. Don’t forget to tighten them again, to remove any flex under heavy braking.
And that’s it! Good luck setting up your sim rig, and we hope seeing you on Treq!